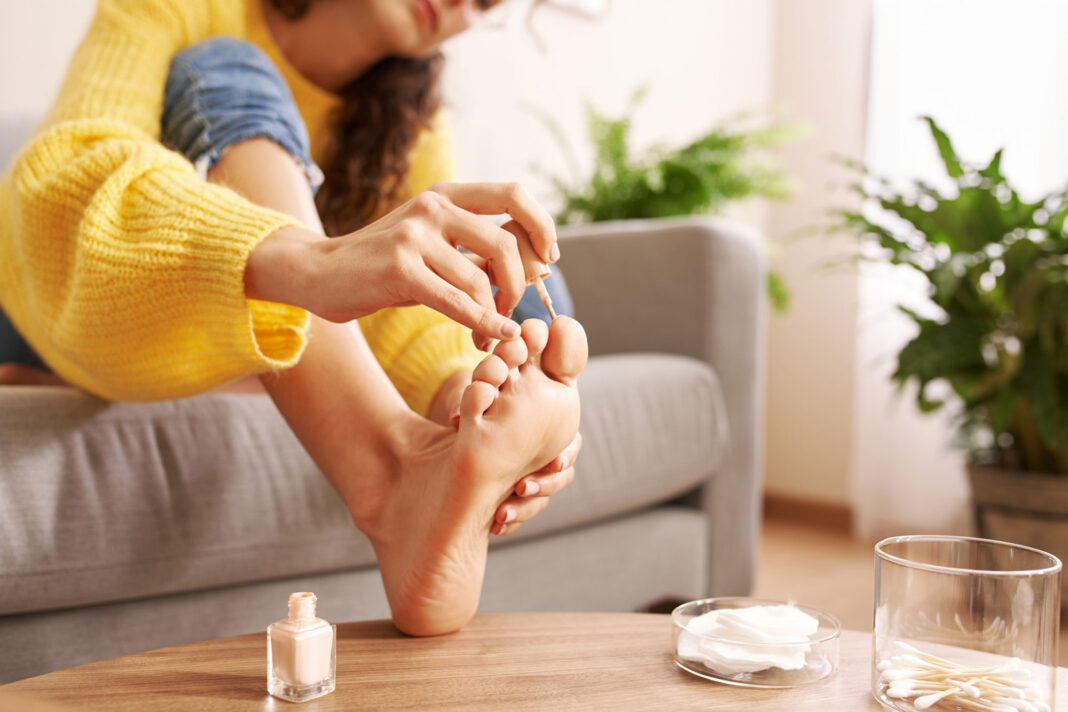
Ladies, sometimes self-love starts at our feet! Dive into the ultimate pampering experience right in the comfort of your own space. If you’re like me, who’s totally into that glossy salon pedicure but craves the cozy home vibes (and wants to save some bucks), then this DIY guide is your new BFF. So, pull out your favorite playlist, light up some scented candles, and let’s get those feet runway-ready!
Essential Diva Pedicure Kit:
- Non-acetone nail polish remover
- A fab foot file or pumice stone
- Chic nail clippers and a file
- Lush foot cream and luxury cuticle oil
- Your fave nail polish shades (don’t forget the base and top coat!)
Step 1: Nail the Prep!
Bidding farewell to that old chipped polish? Soak a cotton pad with your remover and gently swipe away. Do you have any pesky color residue? A dab of cuticle oil will sort that out.
Step 2: Dive into Relaxation
Set the mood: ambient lights, plush towels, and maybe even some soft tunes in the background. Now, dip those feet in warm water infused with soothing bath salts. Let the day’s stress melt away.
Step 3: Exfoliate Like You’re on the Red Carpet
Once your feet feel like clouds, buff away dead skin with that foot file. Focus on the heels, and remember – no overdoing it!
Step 4: Nail the Trim
Post-soak, clip those nails to a fabulous length that screams confidence.
Step 5: Shape Them Chic
Smooth and shape the edges of your nails. Take your time – perfection can’t be rushed!
Step 6: Cuticle Charm
Ditch the snippers and pamper your cuticles with some nourishing oil. They’ll thank you by shining bright!
Step 7: Massage & Melt
Spoil yourself with a creamy foot massage. This doesn’t just feel divine but preps your toes for the grand finale. Swipe your nails with rubbing alcohol afterward to ensure the polish sticks perfectly.
Step 8: Lay the Perfect Foundation
Before the color comes the base coat. It’s the guardian of your nails, ensuring the color lasts and shines.
Step 9: Slay with Color
Get creative! Whether it’s a classic red or a sparkly gold, make sure you paint with passion. And if you slip a little, an orange stick will come to the rescue.
Step 10: Seal the Deal
Your top coat is the protective shield that gives your color its lasting shine.
Strut Your Stuff!
Voilà! Your feet are now magazine cover-worthy. Enjoy the glam and think of all the fabulous things you can splurge on with the money you saved!
Remember, every step in this pedicure journey screams self-love. So, why wait? Your fabulous at-home spa experience awaits!


